Author:
Florence Bailey
Date Of Creation:
22 March 2021
Update Date:
12 May 2024

Content
- Steps
- Method 1 of 4: Create a cover
- Method 2 of 4: Cover decoration
- Method 3 of 4: Create a collage
- Method 4 of 4: Applying your creativity
- Warnings
Tired of your old and regular school folder? Can't afford a new one? Don't worry - a little creativity and you will turn an old folder into something much better to buy in the store.
Steps
Method 1 of 4: Create a cover
 1 Choose a wrapping material. The simplest wrapping material is paper. It's easy to work with and easy to get rid of when you get bored with paper cover.
 - Kraft paper. Strong, dense and cheapest wrapping paper. You can apply a pattern on it at your discretion (paper bags are made from kraft paper, which can be found in grocery or other stores).
- Wrapping. Less durable and slightly more expensive than kraft paper, but its drawing will make your folder look quite stylish (gifts are wrapped in wrapping paper).
- Printable cover. Search the internet for “free cover templates and layouts”. You will find many free cover templates that you can print yourself (be sure to choose a cover layout that matches the size of your folder).
 2 Iron the paper or fabric (if needed). If you iron the fabric, set the iron correctly (so as not to burn through it). If you are ironing paper, do the following:
 - Lightly spray wrinkled paper with water (spray). Place a towel on the ironing board, place paper on it, and place another towel on the paper.
- Set the iron to low heat and iron the paper through the towel, checking frequently to see if the paper is flattened or not.
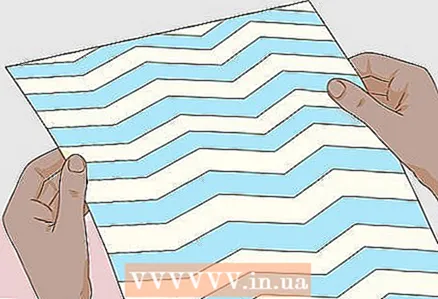
 3 Cut the cover to the desired size. The cover should be 1.5 - 3 cm larger than the size of the opened folder (on all sides).
 - If using a kraft paper bag, cut off the bottom and cut along one side. You will get a rectangular sheet of kraft paper suitable for folder wrapping.
- If using brown paper or fabric, simply unfold it, place your folder on top of it, and cut it to fit the size of the folder (remember that the cover should be larger than the folder).
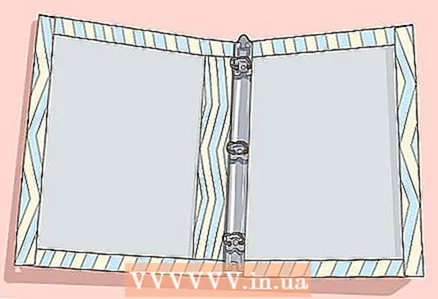
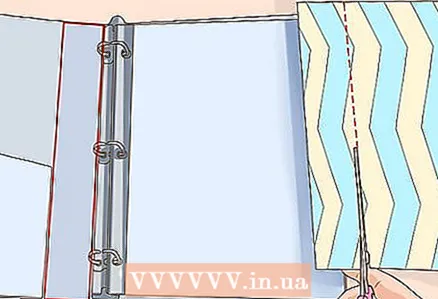 4 Cut out the cover for the spine of the folder (if necessary). Depending on the location of the rings in a folder, one side of an open folder may be longer than the other (usually the left side). In this case, wrap the spine of the folder separately (with paper or cloth).
 - Measure the length and width of the folder spine, and then cut the cover to the appropriate size (this section of the cover should exactly match the folder spine).
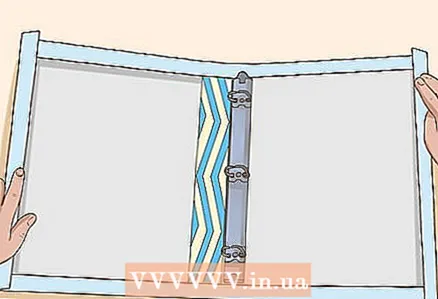
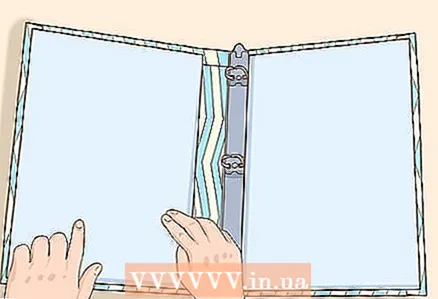
 5 Wrap the spine of the folder. To do this, use glue or tape.
 - If you are using fabric, spray glue onto it and press the fabric firmly against the spine.
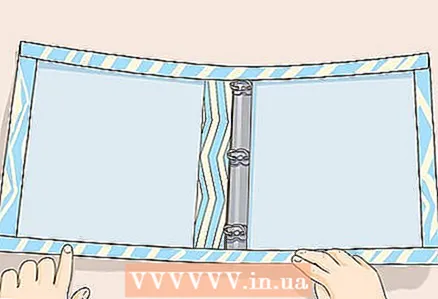 6 Fold the edges of the cover. To do this, place the cut-out cover on a table (face down) with an open folder on top of it so that the wrapping paper / fabric is visible from all sides of the folder.
 - Fold the edges of the cover slightly along the long sides of the folder, and then remove it. Now carefully and completely fold the edges of the cover (along its long sides).
- Note that you will most likely not be able to do this step if you are using fabric for the cover. In this case, skip this step and the next.
 7 Place the folder on the cover again, align the folder with the folds you made earlier, and fold the cover along the short sides of the folder (as you folded it along the long sides).
- You will have to wrap the front cover of the folder first and then the back as it is difficult to wrap the entire folder at once.
 8 Place the folder in the folded cover. Make sure the cover is snug against the folder (but not so tight that you have difficulty opening and closing the folder). Now you need to secure the cover so it doesn't fall off.
 - Scotch tape is perfect for this.When removing the tape, be careful not to tear the material from which the folder is made.
 9 If you're using fabric as your wrapping material and can't bend it around the folder, don't worry. Simply spray the glue on the wrong side of the fabric and place the folder on top of it.
 - Now fold the fabric along the long sides of the folder and then along the short sides (it is better to start folding the fabric from the center of the folder near the rings).
- Apply more glue if necessary.
 10 Wrap the inside of the folder covers. To do this, cut out two pieces of cardboard of the appropriate size, apply glue to them (along the edge) and press the cardboard against the folded edges of the paper or fabric cover.
 - This will make the open folder look much better.
 11 Your cover is ready! Now you can decorate it. This is discussed in the following sections of this article.
Method 2 of 4: Cover decoration
 1 If you have made a cover out of paper or fabric that is easy to paint on, you can use the cover as a canvas - paint whatever comes to your mind on the cover (and when you are interested). Thus, your cover will gradually turn into something unique.
 - Buy markers (felt-tip pens) with which you can draw on any surface.
- If you are drawing on paper, any marker or pen or pencil will work.
- If you made a cover from fabric, draw on it with special markers.
 2 Draw on the cover sketchif you don't want to paint it with anything. This takes some skill and a little effort, but the results can be quite impressive. You can paint a simple still life or even a landscape - it only depends on your skills and the time you are willing to spend on decorating the cover.
 - If you have a gray or beige cover, then you can decorate it with a pattern with subtle shadows. To do this, use a simple pencil to draw in dark areas and a white pencil to highlight certain contours.
- Once you've drawn your sketch, you can protect it by covering the cover with a transparent plastic wrap. You can also use a special protective spray (available from specialist art stores).
 3 Paint the cover with paints. It will take a little longer than sketching, but you can end up with an amazing and very beautiful cover (especially if you are willing to spend a lot of time on it). But if you don't want paint to seep through the cover and stain the folder, first remove the cover, place it on top of an old newspaper, and only then paint it.
 - The paper cover can be painted with acrylics or watercolors.
- Special paints may be required for the fabric cover. Before using ink, read the ink label to make sure the ink is suitable for use on fabric.
- For best results, use a thick fabric to prevent paint seeping through. Cotton or silk fabric is great.
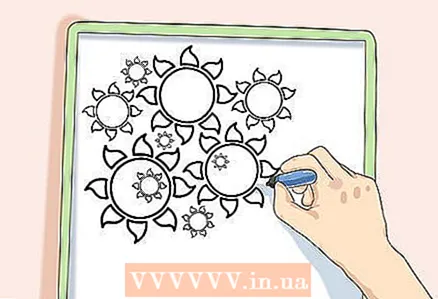
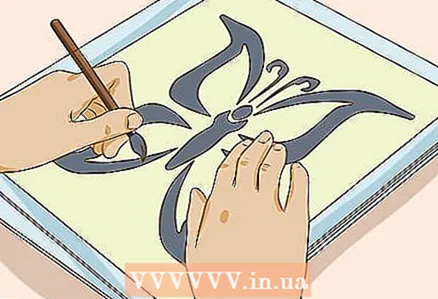 4 Use stencils to apply designs to the cover. Stencils allow you to draw any design on your cover in just a few seconds. You can sketch the stencil along the contour or sketch it in its entirety - this is at your discretion.
 - If you are using paint, attach the stencil to the cover with tape so that the stencil does not slide off during the drawing process. Do not overdo it with paint, as it can seep under the stencil and you will have a very unsightly drawing.
- You can make the stencil yourself. To do this, print a stencil layout and cut it out (with scissors or a special knife).
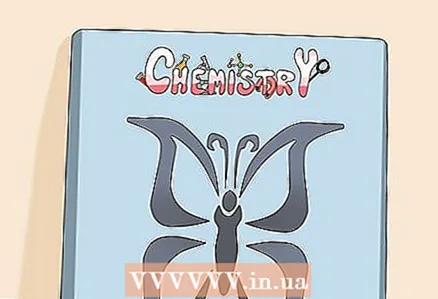 5 Create an artistic label for your folder. Do you use the folder at school or at work? If yes, then you can mark it so as not to forget what is stored in it; with this, you can create an amazing label.
 - For example, draw the word Chemistry in thick, funny letters, and then draw a beaker of colorful solution. There is no such thing as a "wrong label" here, so be creative with your creativity.
Method 3 of 4: Create a collage
 1 Create collage easy and fun! First, collect the photos and images from which you will create a collage.
 - You can use photos of your friends, family or pets. Don't take old family photos without permission.
- You can cut pictures from your favorite magazines, such as photos of celebrities, athletes, or just fun outfits.
- You can use newspaper headlines.
- You can use comics or cartoons.
- You can use postcards or stamps.
- You can use individual letters to form words and phrases.
 2 Crop your photos or drawings so that they fit together more or less. They can also overlap each other - this is permissible in a collage (especially if you do not want the folder cover to be visible).
 - Lay out the photos on the cover as they will be in the collage (but do not glue them yet). Try to arrange the images in different ways so that you find their ideal position (remember that after pasting the photos, it will be difficult for you to change the collage).
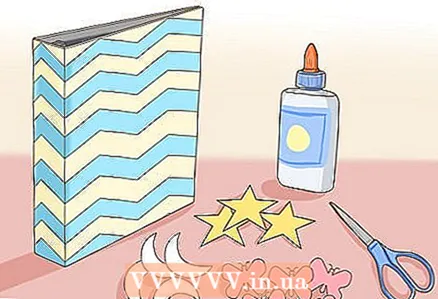
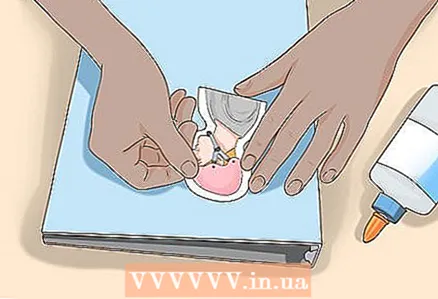 3 After you have decided on the location of each photo, glue them. For this, liquid or solid (better) glue is suitable.
 - You can glue the images both on the cover of the folder and on the folder itself (if you are not afraid to ruin it). Glue a couple of photos down and make sure they fit well on the cover or folder.
- On the other hand, if your folder has a clear plastic pocket, stick the photos onto a piece of paper and put it in that pocket.
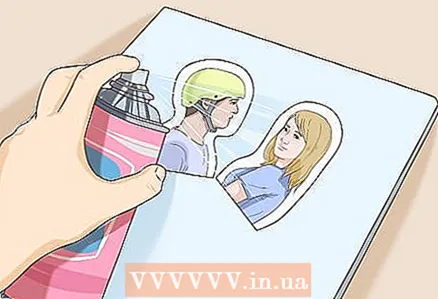 4 Protect your collage as it is made up of many small pieces that can come off or come off.
- You can protect your collage with a special clear liquid fixer.
- You can also find a clear spray fixer.
- If you do not have a fixer, protect the collage with a transparent adhesive film (carefully stick it on the collage so that no air bubbles remain under it).
Method 4 of 4: Applying your creativity
 1 So you didn't really like the ideas outlined earlier? Then in this section we will discuss a few more "recipes" for decorating your folder. For example, if your folder and its cover are different colors, you can use negative space in your design.
 - Negative space is the space between or around the object / objects in the drawing. With negative space, you can uniquely design your folder and its cover.
- To use negative space in your cover design, take a blank (blank) cover and cut out letters, pictures, shapes, and the like into it. Putting the cover on the folder, these letters, drawings, figures will be painted in the color of your folder.
- If you are worried about the cutouts in the cover being torn, attach some transparent tape to the cover.
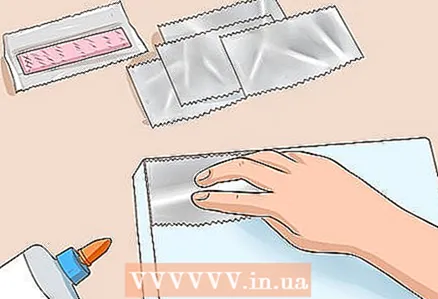 2 Would you like to wrap a folder in a "metal" cover? Then collect a variety of gum foil wrappers, gently flatten (straighten) them, and glue them onto the cover or the folder itself (using a little glue).
 - If you are having difficulty smoothing (straightening) the wrappers, try using your fingernail or a coin to do so.
- To protect such a "metal" cover, you can stick a transparent film on it.
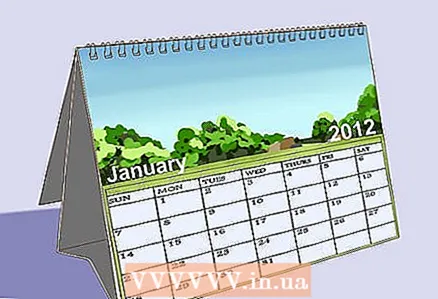 3 Use images from old loose-leaf calendars to make a cover for your folder.
- Simply cut out a picture from your calendar, place it on a folder, crop the image to fit the folder's lid, and then tape the image with transparent adhesive to secure it.
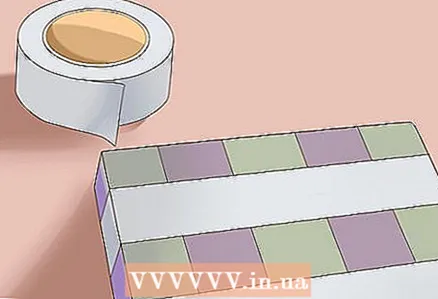 4 Use duct tape (duct tape), which is great for protecting your folder and can give it a metallic sheen. Moreover, the adhesive tape is not only transparent, but also colored. If you don't want to stick the tape directly onto the folder, make a "double layer" tape, that is, stick the sticky sides of the tape together.
 - To decorate the folder, stick tape in the form of colored stripes or a checkerboard.
- You can also use tape to create negative space designs. Stick tape of the same color on the folder. Then place a different color of tape on top of this tape. From the top of the tape, carefully cut (using a special knife) letters or shapes and peel them off to create a design with negative space.
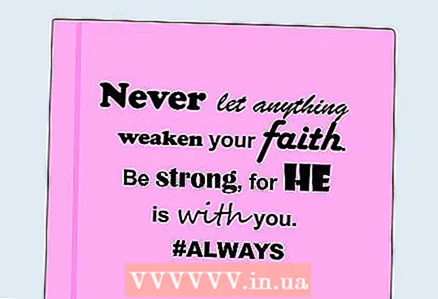 5 Cover the cover with your favorite quotes, such as quotes from famous people or lines from songs and poems.
- Type a quote on your computer using an interesting or unusual or funny font, and then print the quote and paste it on the cover of your folder.
- You can also write quotes in calligraphic handwriting.
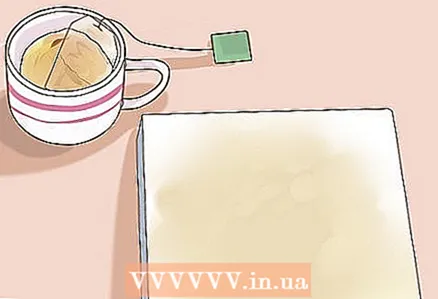 6 Give your folder the old look by dipping it in tea. After that, your folder will look like an old tome.
 - Read this article for detailed instructions.
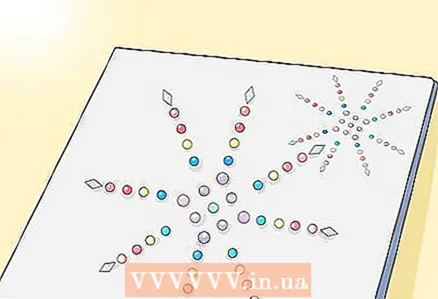 7 Add some polish to your folder, even if it contains something boring and uninteresting (like your history or chemistry homework).
- To do this, stick rhinestones or sequins on the folder.
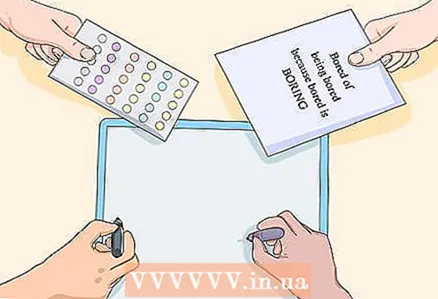 8 Decorate the folder with your friends. To do this, wrap it in plain white paper and let each of your friends decorate it in their own way.
 - Thus, your folder will be something to remind you of each of your friends. In addition, such a folder will become a cherished keepsake that you will consider many years later.
Warnings
- If you want to put something spicy or sarcastic on the cover, then it's better not to do it (especially if you use this folder at work or school).
- Be careful when using durable markers and felt-tip pens. Do not stain your table or clothing with them. Traces of these markers can be removed with nail polish remover (especially from smooth surfaces).


